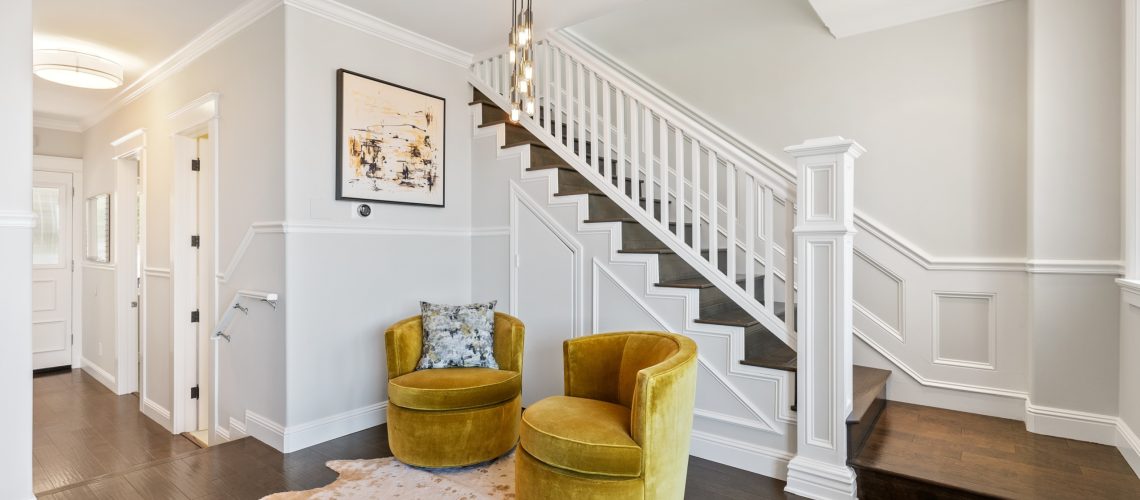
We’ve all seen them: those cringy real estate photos that make a house look like it originated in a horror movie. There’s that orange-tinted lighting, the accidental dutch tilt, and the random shot of an empty corner that definitely says something – but it doesn’t say “buy me”. If your sellers are DIY-ing their listing photography, we suggest offering a few tips before letting them pull out their cameras.
Put that prosumer camera you bought in 2007 away!
No, really – just throw it away. Even if you have the freebie smart phone that came with the cheapest possible phone plan, the camera on that thing is way better than your $600 prosumer camera from the early 2000s. I know… it’s devastating. But don’t stake your home sale on photos that look twenty years old. If you don’t have access to current, professional photography equipment, opt for a current smartphone camera and go straight for the auto focus and auto iris settings.
Open the curtains to let in the light, but don’t shoot toward the windows.
Lens flares look artistic in movies – but in real estate photos, they are a major distraction. Avoid lens flares by shooting away from light sources such as windows or lamps. While on the topic of lighting, make sure your flash is turned off! That bright spot reflecting off of the walls from your camera’s flash is a deterrent to buyers who are trying to see a clear image of your paint and tile.
Use a tripod.
Putting your phone camera on a tripod accomplishes two things: 1) It helps you avoid unintentional motion blur in your image; and 2) It helps you keep your horizon straight. Remember that “accidental dutch tilt” we referenced? Like lens flares, it might look cool in a movie, but it’s definitely not what you want in your home photos.
Pay attention to white balance.
If your image looks too orange or too blue, then it means that your white balance isn’t set accurately. The best thing for DIYers? Just use “auto”. But make sure to check it with every shot… even slight changes such as moving away from a window or turning on a fluorescent light can have a major impact on your image’s white balance setting.
Don’t zoom.
There is almost nevera good reason to zoom in on a shot for real estate photos. Your image will be clearest on the widest setting. Not only that, but a wide angle lens does wonders to make a room look spacious!
And that’s it! Follow these tips, and your real estate photos will be looking better in no time. For more ideas like these, visit the Join Dalton Wade blog and be sure to follow us on Youtube!

